Winter wreaks havoc on restroom trailers, often causing a lot of expensive damage that could be easily prevented with some careful preparation.
Plumbing is especially susceptible to the harsh conditions winter brings, so it's important to take measures to protect your trailer from moisture and freezing temperatures.
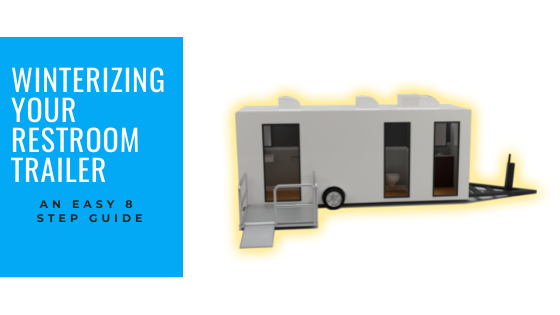
Remember that each restroom trailer is different, so make sure you consult your owner's manual for specific tips on how to winterize yours properly - but our guide covers the basics in 8 easy steps.
Tools Needed Before You Begin
For proper winterization, you’ll need the following tools and supplies:
- cordless power drill with #2 square tip driver bit
- socket wrench and 1-1/16″ socket
- flashlight
- new anode rod or plastic plug
- 3-4 gallons of antifreeze (a little extra never hurts)
- 2 crescent wrenches or a set of open-end wrenches
- siphoning kit (if the pump is not already equipped)
- water heater bypass kit (if not already equipped)
- needle nose pliers or a screwdriver
Make sure to drain your wastewater tanks regularly, especially during the winter months. You never want to have your restroom trailer sitting with water during extended periods of freezing weather.
If left sitting for too long, that wastewater can become a breeding ground for bacteria - and even worse, it might freeze!
Start by draining the black water tank followed by the gray water tank. Once both are drained of liquid waste, use a special black tank cleaner or wand to clean any residue inside the tank.
In order to drain your water heater, you'll need to turn it off and let it cool down- you don't be under pressure.
Next, hook up city water to your restroom trailer with the water turned off- this will allow you access to remove the drain plug or anode rod.
After that, open the pressure relief valve which will let all of the hot pressurized water out gradually. DON'T proceed if either the temperature or pressure are hot!
Once it's cooled down, wait until the temperature and pressure come back to safe levels before draining out the water heater- make sure you flush out all of the sediment for 2-3 minutes afterwards. If your anode rod is old, remove it at this point; but if you're leaving during winter, note that you'll need to install a new one come springtime.
When adding anti-freeze to your
restroom trailer, it's important to bypass the water heater first. Anti-freeze making its way into the water heater can cause some serious problems down the road so you want to avoid that at all costs.
Some restroom trailers will have a bypass already installed, but if yours doesn't or you're not sure how it works, keep reading. To find the water heater on your restroom trailer, look for where the water heater service door is on the exterior of the unit and line that up with where it feeds into inside.
More often than not, there's an access panel inside that you will need to remove in order to adjust the valves properly and bypass the water heater. So using your drill and square tip driver bit, remove the panel to access the valves and adjust them accordingly.
Make sure the water pressure is turned off before removing the plug and draining the freshwater tank. When finished, close all of the faucets and make sure to plug up any low point drains that may exist in your restroom trailer's plumbing system. Doing this will help to insure that your tanks empty completely, which is necessary for proper restroom trailer maintenance.
To properly winterize your
portable restroom trailer, you will need a siphoning kit or alternatively if your restroom trailer is equipped with one- find the siphoning hose and place it inside of your gallon jug of antifreeze. Next, open the valve and turn on the water pump in order to allow the antifreeze to start flowing through all of your restroom trailer's water system taps and hoses.
One of the most important steps you can take to winterize your restroom trailer, is draining the water from the low points in your pipes. Drain the water by opening the low point valves or loosening the drain plugs until it runs pink, then close them again.
Once all of the water has drained out, turn on any outside showers or exterior faucets and let them run for a few minutes until they turn pink as well.
Repeat the process starting with step 6. Run the faucets in the restroom trailer and showers (if you have a
shower trailer combo unit), starting with one side until it runs pink then closing it and running the other side. Do the same for all toilets until you see the antifreeze.
Drain antifreeze from sinks, showers, and toilets in the
bathroom trailer to prevent exterior pipes from freezing over winter.
Turn off water heater's heating element and close all faucets to prepare for winter storage for your restroom trailer.
.jpg)
.jpg)

.jpg)
.jpg)
.jpg)
.jpg)
.jpg)
.jpg)
.jpg)
.jpg)
.png)
.png)
.png)
.png)
.png)
.png)
.png)
.png)
.png)
.png)
.png)
.png)
.png)
.png)
.png)
.png)
.png)
.png)
.png)